Exploring the sampler
wxRuby3 ships with a large collection of working example applications covering almost every part of the API. Before writing your own apps from scratch, spending time with the sampler pays dividends — you see what is possible, you find widgets you did not know existed, and you get a feel for how wxRuby3 code is structured in practice.
This lesson is a guided tour. By the end you will know which samples to study first, how to read sample code effectively, and how to use a sample as the starting point for your own work.
Launching the sampler
|
|
This opens a GUI window listing all bundled samples organised by category. You can run any sample by double-clicking it, and copy its source to your working directory with the Copy button.
If the wxruby command is not found, see the troubleshooting section of the previous lesson. You can also run the sampler directly:
|
|
A suggested order for beginners
The sampler has dozens of entries. Most are useful later, but a handful are essential reading right now. Work through these six in order before moving to Module 2.
1. minimal — the skeleton
Run minimal first. It is the simplest possible complete application — one frame, no content, just the structural bones. Everything else in wxRuby3 is built on top of this pattern.
Study the source and look for:
- How
Wx::App.runis used and where the frame is created - The
showcall that makes the window visible - The fact that there is almost nothing here — and the app still runs and closes cleanly
2. controls — the widget survey
controls puts most of the common widgets in a single window: buttons, checkboxes, radio buttons, text fields, list boxes, combo boxes, sliders, spinners, and more. This is the best quick reference for “what does widget X look like, and how is it created?”
Study the source and look for:
- The constructor pattern that nearly all widgets share:
Wx::SomeWidget.new(parent, options) - How widgets are parented to a panel
- The variety of style flags available —
Wx::TE_MULTILINEfor a multi-line text control,Wx::CB_READONLYfor a read-only combo box, and so on
3. layout — sizers in action
layout demonstrates Wx::BoxSizer, Wx::GridSizer, and Wx::FlexGridSizer in real use. Understanding sizers is essential before building any non-trivial UI — Module 2 covers them in detail, but seeing them in action first makes that lesson easier to absorb.
Study the source and look for:
- How sizers are created and attached to a panel with
set_sizer - The
addmethod and itsproportion,flag, andborderarguments - How nested sizers build up complex layouts from simple pieces
4. dialogs — standard dialogs
dialogs demonstrates the full range of built-in dialogs: message boxes, file open/save pickers, font choosers, colour choosers, text entry, and more. wxRuby3 provides these for free — you rarely need to build your own for common tasks.
Study the source and look for:
- The
show_modalpattern and how the return value tells you which button was pressed - How each dialog type is constructed and what data it returns
- The stock button IDs:
Wx::OK,Wx::CANCEL,Wx::YES_NO
5. event — event handling patterns
event covers the different ways to bind events: blocks, method references, and event propagation. It also demonstrates how event.skip works to pass an event up the widget hierarchy.
Study the source and look for:
- The difference between binding an event on the widget itself vs on the parent
- How
evt_*methods correspond to user actions - The
skippattern and when you need it
6. menu — menus and toolbars
menu shows a full menu bar with submenus, separators, checked items, and keyboard shortcuts (accelerators).
Study the source and look for:
- How
Wx::MenuBar,Wx::Menu, andWx::MenuItemfit together - Stock menu items like
Wx::ID_EXIT,Wx::ID_ABOUT,Wx::ID_OPEN— these get the right label and keyboard shortcut automatically on each platform - How menu events are connected to handlers using the menu item’s ID
How to read sample code effectively
Sample code in wxRuby3 varies in style — some samples use older patterns, others use modern idioms. A reliable approach for any sample:
Run it first. Interact with every control, menu, and button before reading a line of code. You want a clear picture of what the code produces before you study how it produces it.
Find the frame class. Every sample has a class that inherits from Wx::Frame. That is where the app lives. Start there, not at the top of the file.
Read initialize top to bottom. The frame’s initialize method is the app’s blueprint — it builds the widget tree, sets up sizers, and registers event handlers. Understanding initialize gives you the full structure.
Trace one event handler. Pick one user interaction — a button click, a menu selection — and follow the chain from the evt_* registration in initialize to the handler method it calls. Tracing one complete path through the code is more illuminating than reading every line.
Ignore what you do not recognise. Samples are complete apps, not tutorials. They contain patterns you have not learned yet. That is fine — note them, move on, and they will make sense later.
Using a sample as a project starter
If a sample does something close to what you want to build, the sampler’s Copy button puts the source into a directory of your choice. From there:
|
|
This gives you a working starting point. Rename the frame class, strip out what you do not need, and build from there.
Samples to return to later
These samples are valuable but make more sense once you have covered the relevant module:
| Sample | When to look at it |
|---|---|
text |
Before Module 4 — rich text editing |
drawing |
Before Module 4 — custom drawing with DC |
html |
Before Module 4 — the HtmlWindow widget |
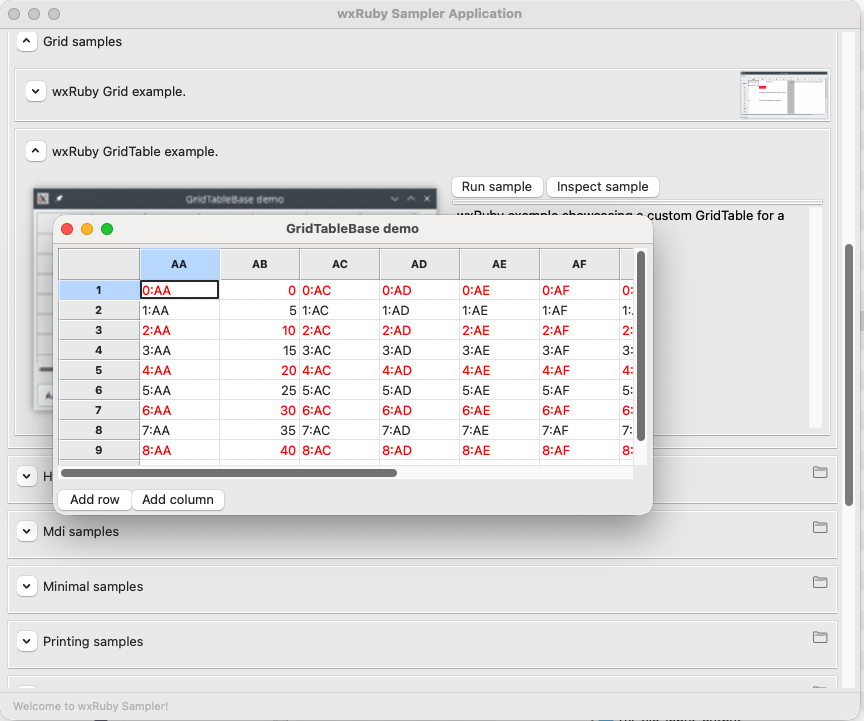
grid |
Before Module 3 — tabular data display |
treectrl / listctrl |
Before Module 3 — tree and list widgets |
thread |
Before Module 3 — background processing |
notebook |
Before Module 3 — tabbed interfaces |
aui |
Before Module 3 — dockable panels |
A note on the wxWidgets documentation
wxRuby3’s API is a Ruby translation of the wxWidgets C++ API. The wxRuby3 API docs at mcorino.github.io/wxRuby3 cover everything, but when you cannot find an answer there, the wxWidgets C++ documentation at docs.wxwidgets.org is an excellent supplement.
The C++ and Ruby APIs mirror each other closely. wxFrame::SetTitle in C++ is set_title in Ruby. wxBoxSizer::Add is add. Once you know to look for the Ruby snake_case equivalent of the C++ PascalCase method, the C++ docs become a reliable reference even when writing Ruby.
A useful search trick: when looking for how a specific widget works, prefix your search query with wx — for example, wxTextCtrl multiline rather than wxruby text input multiline. This surfaces the wxWidgets documentation and community discussions alongside the wxRuby3 results.
Previous: Installation and your first window | Next: Module 2 — Building Blocks